Aerial photography settings and ND filters explained
Camera settings for aerial photos and video, when to use ND filters, and how to shoot cinematic drone footage. Concrete shutter, ISO and frame rate advice.
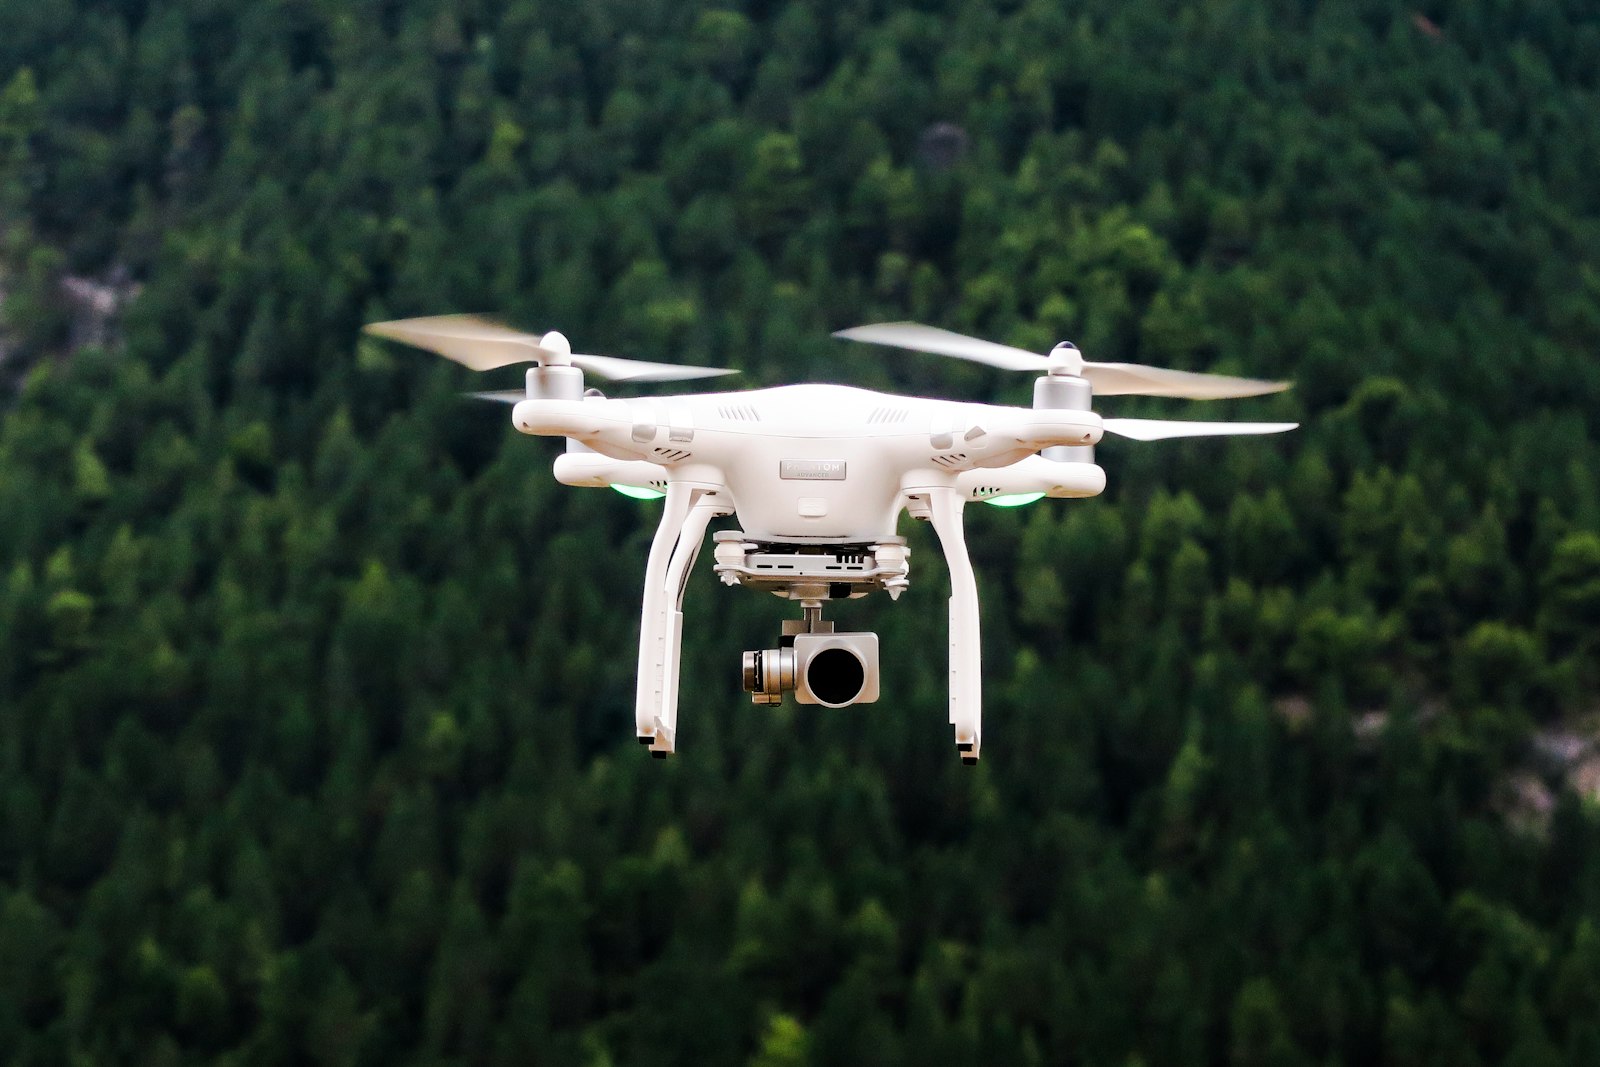
For smooth cinematic video, set your shutter speed to roughly double your frame rate and use ND filters to get there in bright light. For stills, shoot in the lowest ISO you can, expose to protect highlights, and save in RAW so you have room to edit.
This guide covers the core settings and filter choices that separate flat, amateur drone footage from clean professional results as of 2026.
What shutter speed should you use for drone video?
Follow the 180-degree shutter rule: set shutter speed to about twice your frame rate, so at 24 fps you use 1/48 or 1/50, and at 30 fps you use 1/60. This gives natural motion blur that makes footage look cinematic rather than stuttery or unnaturally sharp.
The problem is that in daylight, a slow shutter like 1/50 lets in far too much light and overexposes badly. That is exactly why ND filters exist, covered below. Key points:
- 24 or 25 fps for a cinematic feel, paired with a 1/48 or 1/50 shutter.
- 30 fps for a slightly more standard look, paired with 1/60.
- 60 fps when you want smooth slow motion in post, paired with 1/120.
Keep ISO as low as possible, ideally the camera’s base ISO, to preserve dynamic range and minimise noise. Adjust exposure with the aperture if your drone has one, or with ND filters if it has a fixed aperture, rather than by raising ISO.
When should you use ND filters?
Use ND (neutral density) filters whenever the scene is too bright to keep your cinematic shutter speed without overexposing, which in practice means most daytime video. An ND filter darkens the image evenly so you can hold a slow shutter and still expose correctly.
How to choose strength:
- Bright sunny day: a stronger filter such as ND16 or ND32.
- Overcast or golden hour: a lighter filter such as ND4 or ND8.
- Very bright snow or water: ND64 or higher.
Many pilots carry a filter set and swap based on light. Some drones offer variable ND, which is convenient but can add colour cast at extreme settings. For stills, ND filters are rarely needed because you can use a faster shutter freely. Learning when a filter helps and when it just costs you sharpness is the kind of practical judgement that complements the operational knowledge in the dronexamine trainer.
What settings work best for aerial photos?
Shoot RAW at base ISO, expose to protect the highlights, and use a moderate aperture if available for the sharpest results. Aerial stills benefit hugely from RAW because it preserves detail in bright skies and shadowed ground that you can recover in editing.
Recommended starting point:
- Format: RAW, or RAW plus JPEG if you want quick previews.
- ISO: the camera base, often ISO 100, raised only when light forces it.
- Exposure: slightly protect the highlights, since blown skies are hard to recover while shadows lift more gracefully.
- Aperture: on drones with an adjustable one, a mid aperture is usually sharpest; very small apertures soften the image through diffraction.
Use exposure bracketing for high-contrast scenes, capturing several exposures to blend later. For panoramas, keep the drone steady and let the app stitch, or shoot overlapping frames manually.
How do you get smooth cinematic footage?
Fly slowly and smoothly, use gentle stick inputs, and let the gimbal do the stabilising while you plan deliberate moves. The biggest improvement most pilots can make is simply slowing down, since fast jerky flying ruins otherwise good settings.
Techniques that lift footage quality:
- Slow, deliberate movements. Reveal a subject with a steady push in, a slow orbit or a gradual rise.
- Cinematic or tripod mode. Most drones offer a mode that softens stick response for smoother moves.
- Plan the shot. Decide the start, the move and the end before you fly it, rather than improvising.
- Consistent frame rate and shutter. Keep your settings uniform across a shoot so clips cut together cleanly.
- Use a flat or log colour profile if your drone offers one, then grade in post for more control over the final look.
Wind is the enemy of smooth footage. Gusts make the gimbal fight to stabilise and can introduce micro-jitters, so choose calmer conditions or fly lower where wind is weaker.
How do you compose strong aerial shots?
Use the unique top-down and elevated perspectives that only a drone offers, and lean on classic composition rules like leading lines, symmetry and the rule of thirds. Height gives you patterns, shapes and scale that are invisible from the ground, so look for them deliberately.
Composition ideas:
- Top-down (nadir) shots turn roads, fields and coastlines into graphic patterns.
- Leading lines such as rivers, paths and shadows draw the eye through the frame.
- Symmetry and repetition from above make striking, clean images.
- Scale by including a small recognisable object, like a person or vehicle, to convey how large a landscape is.
- Golden hour light early and late in the day gives long shadows and warm tones that flatter almost any scene.
Always balance the shot you want against airspace rules, privacy and safety. A great composition is worthless if it puts you over people or into restricted airspace.
Common questions
Do I really need ND filters for a drone? For video in daylight, effectively yes, if you want cinematic motion blur. Without them you cannot hold a slow enough shutter without overexposing. For stills you can usually skip ND filters, since you can raise the shutter speed freely to control exposure.
What frame rate should I record in? Use 24 or 25 fps for a cinematic look, 30 fps for a standard feel, and 60 fps when you want smooth slow motion in editing. Whatever you choose, set your shutter to about double the frame rate and keep it consistent across the shoot for clips that cut together cleanly.
Should I shoot in a flat or log colour profile? If your drone offers one and you are comfortable editing, yes. A flat or log profile captures more dynamic range for grading later, giving highlights and shadows more latitude. If you want ready-to-use footage with no editing, a standard profile produces a pleasing image straight out of the drone.
Why does my footage look jittery even with a gimbal? Usually because of fast or jerky stick inputs, wind buffeting the aircraft, or a shutter speed that is too fast and removes natural motion blur. Slow your movements, fly in calmer air, use a cinematic flight mode, and set your shutter to roughly double the frame rate.
Your next step
For your next shoot, pick one frame rate, set your shutter to double it, and fit the ND filter that lets you hold that shutter in the current light. Then focus purely on flying slowly and planning each move. Once composition and settings feel automatic, explore the mapping side with the photogrammetry guide in this batch, and keep your flying legal and safe with the dronexamine guides.
Related articles
Photogrammetry basics, drone mapping for beginners
How drone photogrammetry works, how to plan flights with overlap and GSD, and what gear you need to turn photos into accurate maps and 3D models.
Flying a drone in wind, limits and reading conditions
How much wind is too much for a drone, how to read conditions, and safe techniques for gusty flying. Concrete wind speed guidance and forecast tips.
How to choose your first drone by need and class
How to pick your first drone by weight class, use case and budget. Understand C-classes, the sub-250 gram advantage and what features actually matter.