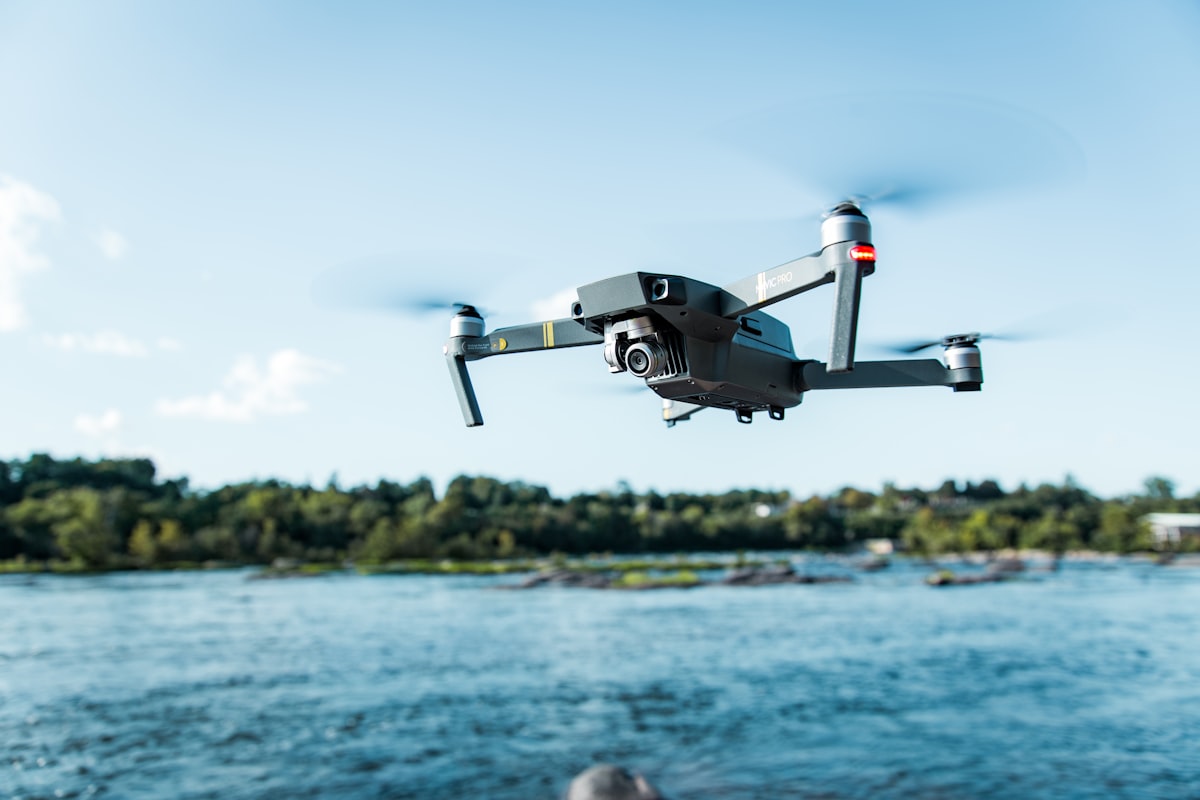
I bought a drone, what now? Your checklist before the first flight
Drone still in the box? Do these in order: check the C class, register as operator, label the drone, pass A1/A3, insure, update firmware, check zones.
You have bought a drone and want to know what comes before the first take-off: check your drone’s C class, register as an operator, put your operator number on the airframe, pass the free A1/A3 test, arrange liability insurance, update the firmware, calibrate the sensors, and only then pick a flying site. That is roughly two hours of desk work, and almost all of it is a one-off.
This guide covers the stage between the purchase and the first flight, meaning everything you do at home and at a computer. If you want the take-off and landing technique itself, go to the pre-flight checklist guide instead. If you have not bought a drone yet, start with how to choose your first drone. The list below is in the order the tasks are actually worth doing, because several of them depend on the ones before.
Step 1: identify your drone’s C class
Before you register anything, work out what class your drone carries. The label showing C0 through C6 sits on the airframe, on the battery, or in the documentation, and is usually visible in the manufacturer’s app as well.
The class determines everything that follows: which subcategory of the open category you may fly in, how close to people you can get, and whether you need extra qualifications. A C0 drone weighs under 250 grams and gives you the most freedom. C1 covers models under 900 grams with additional technical requirements. C2 allows flights in subcategory A2 but needs a separate certificate. C3 and C4 are heavier machines limited to subcategory A3, away from people and built-up areas. Classes C5 and C6 belong to the specific category rather than the open one, so they rarely concern a beginner.
If your drone carries no class label at all, it falls under separate transitional rules based on take-off mass alone. Sort this out before you plan a flight, because every following step depends on it.
Step 2: register as an operator
Registration applies to the operator, meaning you, not to an individual aircraft. You register once, in your country of residence, and the number you receive covers every drone you own.
In practice registration is mandatory for almost anyone who has bought a drone with a camera, regardless of weight. The exception covers only light models with no sensor capable of capturing personal data, which in practice means camera-free toys. If your drone has a camera, assume registration applies to you.
You register through your national aviation authority’s system, online, usually in a quarter of an hour. The operator number is valid for a set period and needs renewing, so note the expiry date. You may only register in one EU state, and the number works across the whole Union.
Step 3: put the operator number on the drone
Having the number in a database is not enough. You must display it physically on the airframe, visible without dismantling anything, and enter it into the Remote ID system if your drone supports one.
The simplest solution is a sticker or permanent marking on the underside of the body. If you own several drones, the number goes on each of them, because they all belong to the same operator. You also enter it in the manufacturer’s app, under Remote ID or operator identification. Do this straight after registering so you do not forget, because an inspection checks exactly that sticker and that Remote ID broadcast.
Step 4: pass the A1/A3 competency test
Flying in the open category requires proof of competency. The basic online training and the A1/A3 test are free of charge in most EU states and you take them remotely, without leaving home.
The A1/A3 test covers regulations, flight safety, airspace limitations, privacy and basic meteorology. There are no questions about piloting technique, because it is a knowledge exam, not a skills test. Passing takes an afternoon if you work through the material first.
The A2 certificate is a separate matter and you only need it once you want to fly a heavier C2 drone closer to people. To start with, especially on a C0 or C1 drone, A1/A3 is enough. The certificate is recognised across all EASA states, so you do not have to repeat it when you travel.
Step 5: arrange liability insurance
You are personally liable for damage your drone causes, with your own assets. Liability insurance shifts that risk to an insurer and costs little over a year.
In some EU states liability cover is mandatory for every operator, in others only above a certain drone mass or for commercial flights. Check this with your national aviation authority, because the rules diverge between countries here more than in most other areas.
Regardless of the legal obligation, it is worth having. Even a light drone can break a car windscreen or injure someone, and the cost of such damage dwarfs the premium. Hull insurance, which covers damage to the drone itself, is bought separately and is a choice rather than an obligation.
Step 6: update the firmware and calibrate
A new drone almost never arrives with current software, and some models simply will not take off until you install the update. Do this at home, on a stable connection, with charged batteries.
The update usually covers the aircraft, the controller and the batteries separately, and the whole process can take from a quarter of an hour to an hour. Do not interrupt it and do not disconnect power midway. Once updated, calibrate the compass and the IMU following the manufacturer’s instructions, away from metal structures, cars and power lines.
Charge every battery and the controller fully, but do not leave them sitting at maximum charge for weeks, because LiPo packs dislike that. Check that the memory card is fitted and has free space.
Step 7: check geographical zones and pick a site
The last step before you leave the house is finding a legal place to fly. Install your national app for checking geographical zones and look at your area before you settle on a launch point.
Geographical zones are areas with drone restrictions: the surroundings of airports, military ranges, national parks, city centres, critical infrastructure sites. Some are closed outright, others require notification or permission. The app also shows temporary zones, active only during certain hours.
For a first flight choose an open field or meadow clear of any zone, away from people, roads, power lines and buildings. Zone checking is something you do before every flight, not once and for all, because temporary zones change.
Common questions
Do I have to register each drone separately? No. You register once as an operator and receive a single number covering every drone you own. You do, however, have to display that number on each airframe and enter it in each drone’s settings. Registration of an individual aircraft applies only to heavier machines in the certified category, which does not include consumer drones.
How long do all the formalities take? Operator registration takes a quarter of an hour, the training and A1/A3 test take an afternoon, and insurance can be bought online in minutes. Firmware updates and calibration take from half an hour to two hours depending on the model. Realistically, from opening the box to being flight-ready you need one free day, and nearly all of it is a one-off.
Can I fly a sub-250 gram drone with no formalities at all? No. A drone under 250 grams mainly frees you from needing the A2 certificate and lets you fly closer to people in subcategory A1, but operator registration still applies if the drone has a camera. You must also respect geographical zones, the 120 metre height limit and the requirement to keep the drone in visual line of sight.
Do qualifications gained in one EU country work in another? Yes. The A1/A3 training certificate and the A2 certificate are recognised across every state applying EASA rules, and your operator number works throughout the Union, though you register only in your country of residence. What does differ is national geographical zones, insurance requirements and flight notification procedures, so check local zone maps when you travel.
Your next step
Work down the list and tick each item off: class, registration, number on the airframe, A1/A3 test, insurance, firmware, calibration, zones. Once you are done, everything is ready and only the flight itself remains. If terms like open category, subcategory A1 or VLOS still mean nothing to you, read the beginner’s introduction first. To prepare for the A1/A3 test, use the guides and trainer in dronexamine.
Want to pass your drone exam?
Learn with the interactive course, practise on EASA-aligned questions and take mock exams. Start for free.
Go to the course →Related articles
Registering as a drone operator, where to start
When you must register as an operator, where to do it and how operator differs from pilot. The first steps before you take off.
How to choose your first drone by need and class
How to pick your first drone by weight class, use case and budget. Understand C-classes, the sub-250 gram advantage and what features actually matter.
Drone pre-flight checklist for safe, legal flights
A complete pre-flight checklist for drone pilots covering aircraft, environment, airspace and settings so every flight starts safe and legal.